Create and manage client sub-accounts in Centerfy AI
Manage multiple client workspaces from one agency dashboard — create, configure, and monitor every client's isolated environment from a single view.
Each client you serve gets their own sub-account: a fully isolated workspace with its own contacts, AI agents, campaigns, pipelines, and settings. You control all of them from a single Agency Workspace. Sub-accounts keep client data cleanly separated while giving you a centralized view for management, reporting, and billing.
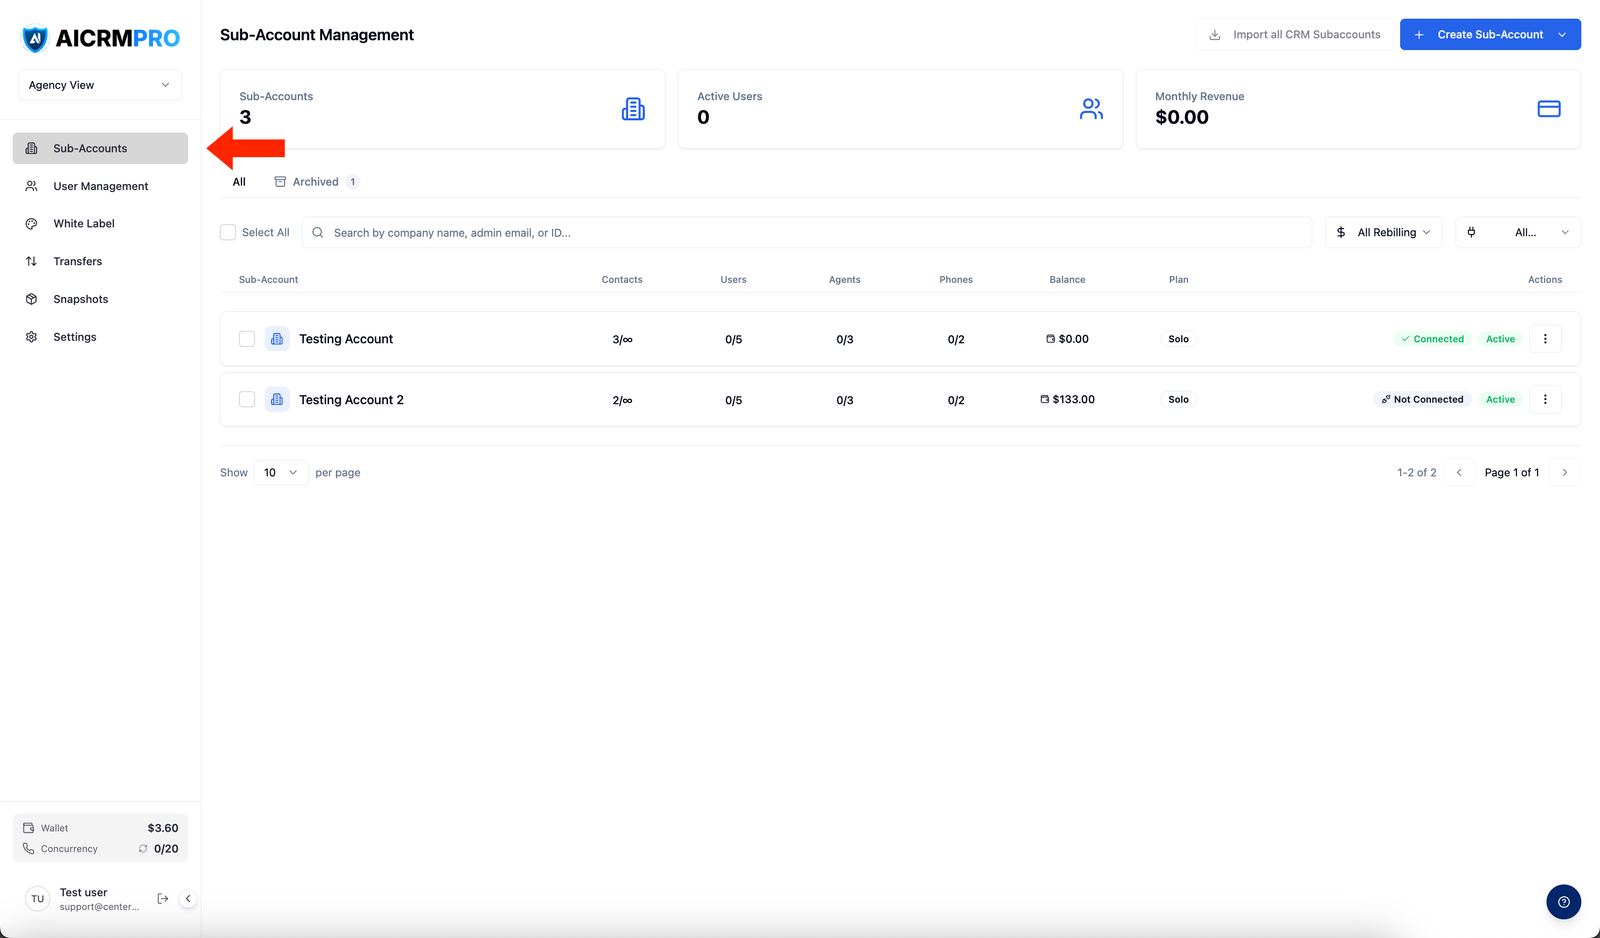
Accessing sub-accounts
Navigate to Agency Workspace > Sub-Accounts to see the full list of your client accounts with their status, usage, and quick-action menus.
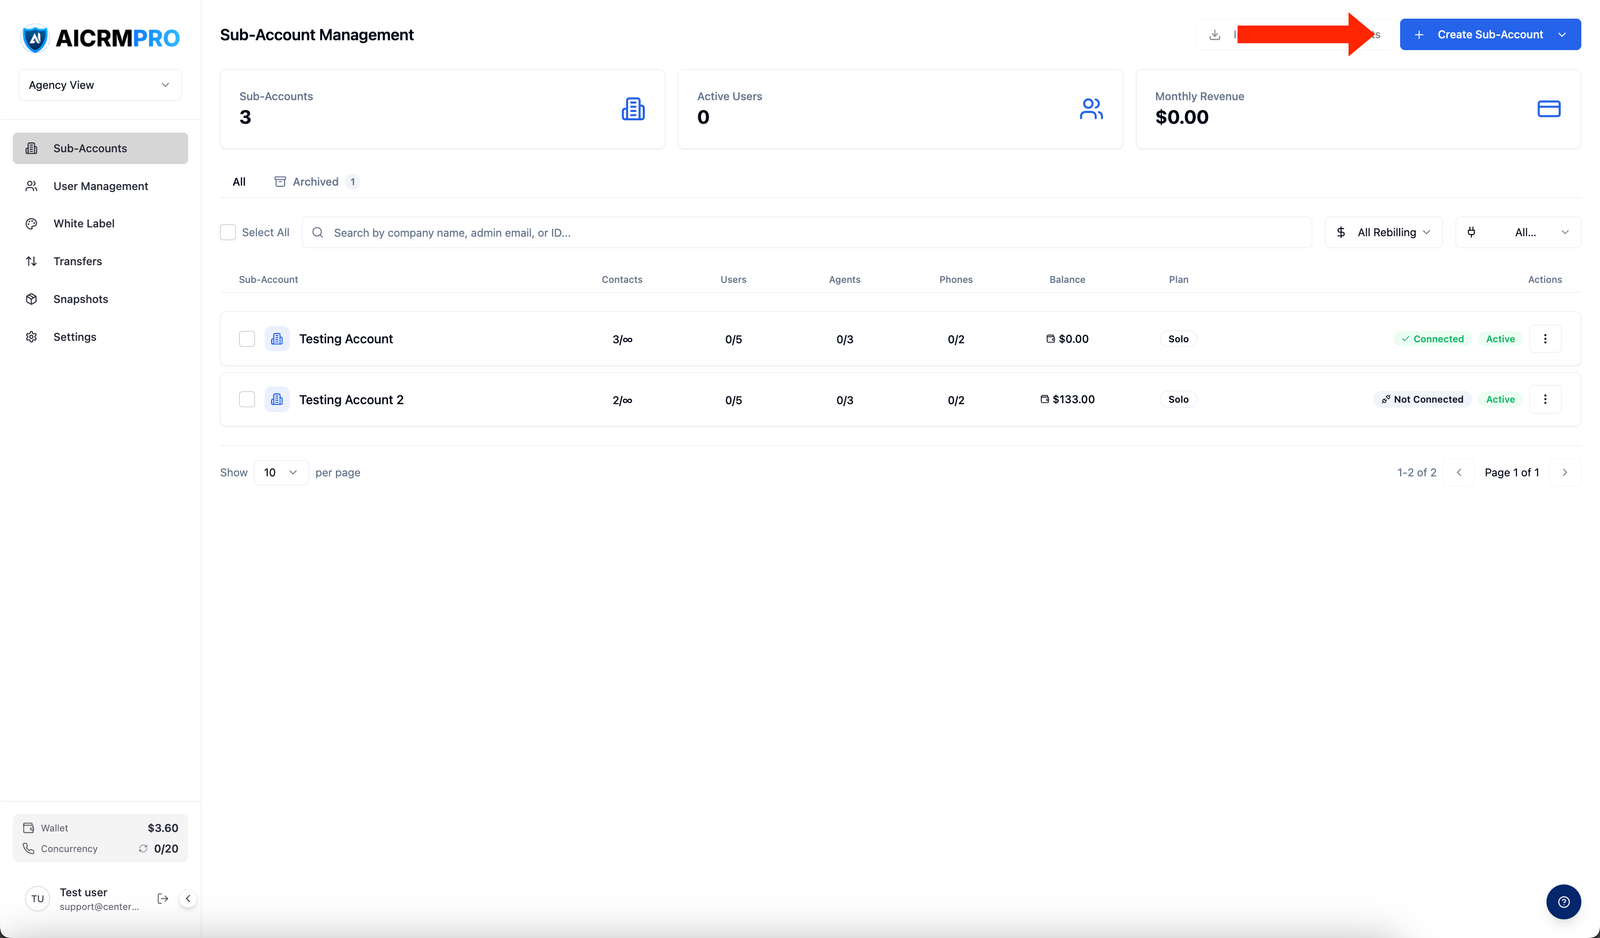
Creating a sub-account
- Click Create Sub-Account
From the Sub-Accounts page, click the Create Sub-Account button in the top-right corner.
- Enter client details
Fill in the client’s name, email address (used to send the invitation), and timezone. The timezone affects how scheduled messages, automations, and reporting timestamps are displayed for that client.
- Set resource limits
Configure the limits for this sub-account:
Limit What it controls Max AI Agents Number of active AI voice and chat agents the client can create Max Contacts Total contacts stored in the client’s CRM Max Users Number of team members the client can invite to their workspace Max Phone Numbers Number of phone numbers the client can provision These limits are enforced in real time — the client sees a clear message if they attempt to exceed any limit.
- Confirm
Click Create. The sub-account is created instantly and an invitation email is sent to the client’s address so they can set up their login.
Managing existing sub-accounts
From the Sub-Accounts list, you can take the following actions on any account:
View and edit account details
Click a sub-account row to open its detail panel. From here you can update the client name, adjust resource limits, toggle individual features on or off, and review the account’s current usage against its limits.
Switch into a sub-account
Click the external link icon next to a sub-account to enter that workspace as an agency admin. You can configure agents, contacts, and workflows on behalf of your client. Switch back to your agency view at any time using the account switcher.
Suspend or reactivate an account
Open the sub-account’s action menu (the three-dot icon) and choose Suspend to temporarily disable the client’s access. Suspended accounts retain all data. Choose Reactivate to restore access at any time.
Delete an account
From the action menu, select Delete. Deletion is permanent and removes all data associated with that sub-account. You will be asked to confirm before the action completes.
Bulk actions
Select multiple sub-accounts using the checkboxes on the Sub-Accounts list to take actions on them simultaneously:
- Bulk update limits — adjust max agents, contacts, users, or phone numbers across all selected accounts at once
- Bulk update features — enable or disable specific platform features for a group of clients
- Bulk update pricing — update rebilling pricing tiers for multiple sub-accounts in a single operation
Bulk actions are useful when you roll out a new service tier, onboard a batch of clients, or adjust limits after upgrading your own agency plan.
Snapshots
Snapshots let you save a complete configuration — pre-built AI agents, workflows, and templates — and apply it to new sub-accounts instantly. Instead of manually setting up each client from scratch, you deploy your proven setup with a few clicks.
- Create a snapshot
Inside a configured sub-account, open the action menu and choose Create Snapshot. Give it a descriptive name (for example, “HVAC Contractor — Inbound Lead Setup”).
- Apply to a new sub-account
When creating a new sub-account, or from an existing account’s settings, select Load Workflow Snapshot and choose the snapshot you want to apply. The agents, workflows, and templates are copied into the sub-account immediately.
Transfers
If you need to move a sub-account from one agency to another — for example, when a client changes vendors or you are consolidating accounts — navigate to Agency Workspace > Transfers. You can initiate an outbound transfer request or accept an incoming one. The receiving agency must confirm the transfer before it completes.