Invite team members and manage permissions
Invite team members, assign roles, and manage access to your sub-account.
Control who can access your sub-account and what they can do. Each team member gets a role that defines their level of access. You can invite users, change roles, and remove access at any time from Settings > Team.
Sub-account roles
| Role | What they can do |
|---|---|
| Owner | Full access. Manage agents, contacts, workflows, settings, billing, integrations, and team members. Cannot be removed. |
| Admin | Same as Owner except cannot manage billing or transfer ownership. |
| User | Access to Inbox, contacts, and calendars. Cannot modify agents, workflows, or account settings. |
| Read Only | View-only access. Cannot edit, send messages, or make changes. |
Invite a team member
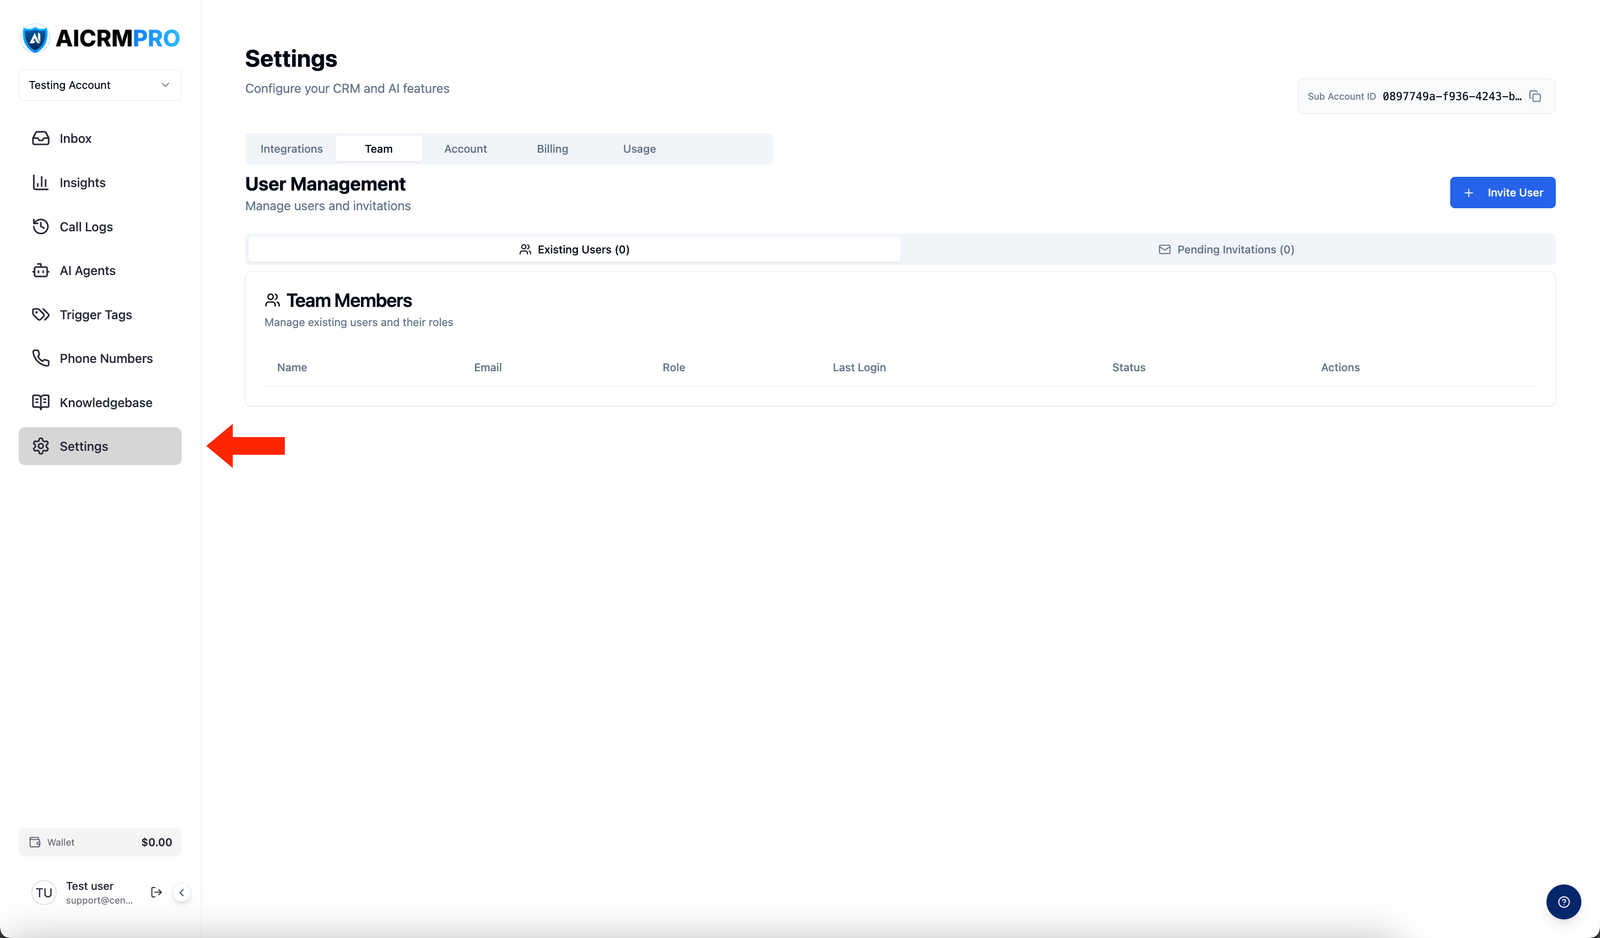
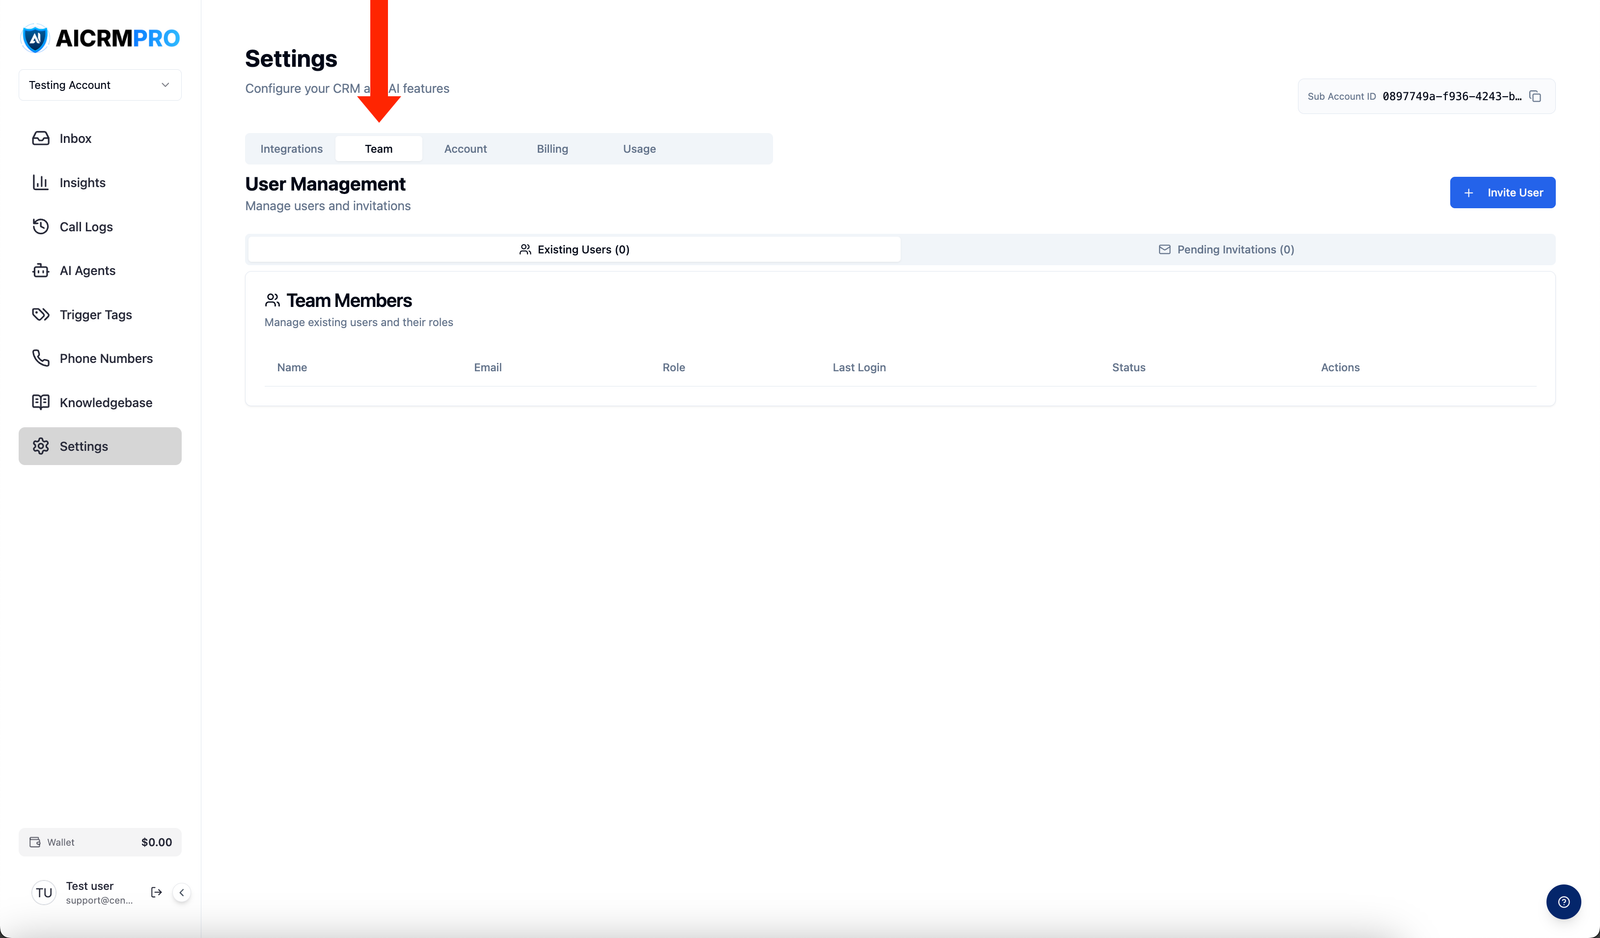
- Open Team settings
Go to Settings > Team.
- Enter details and select role
Click Invite User. Enter first name, last name, email, and select the role (Owner, Admin, User, or Read Only).
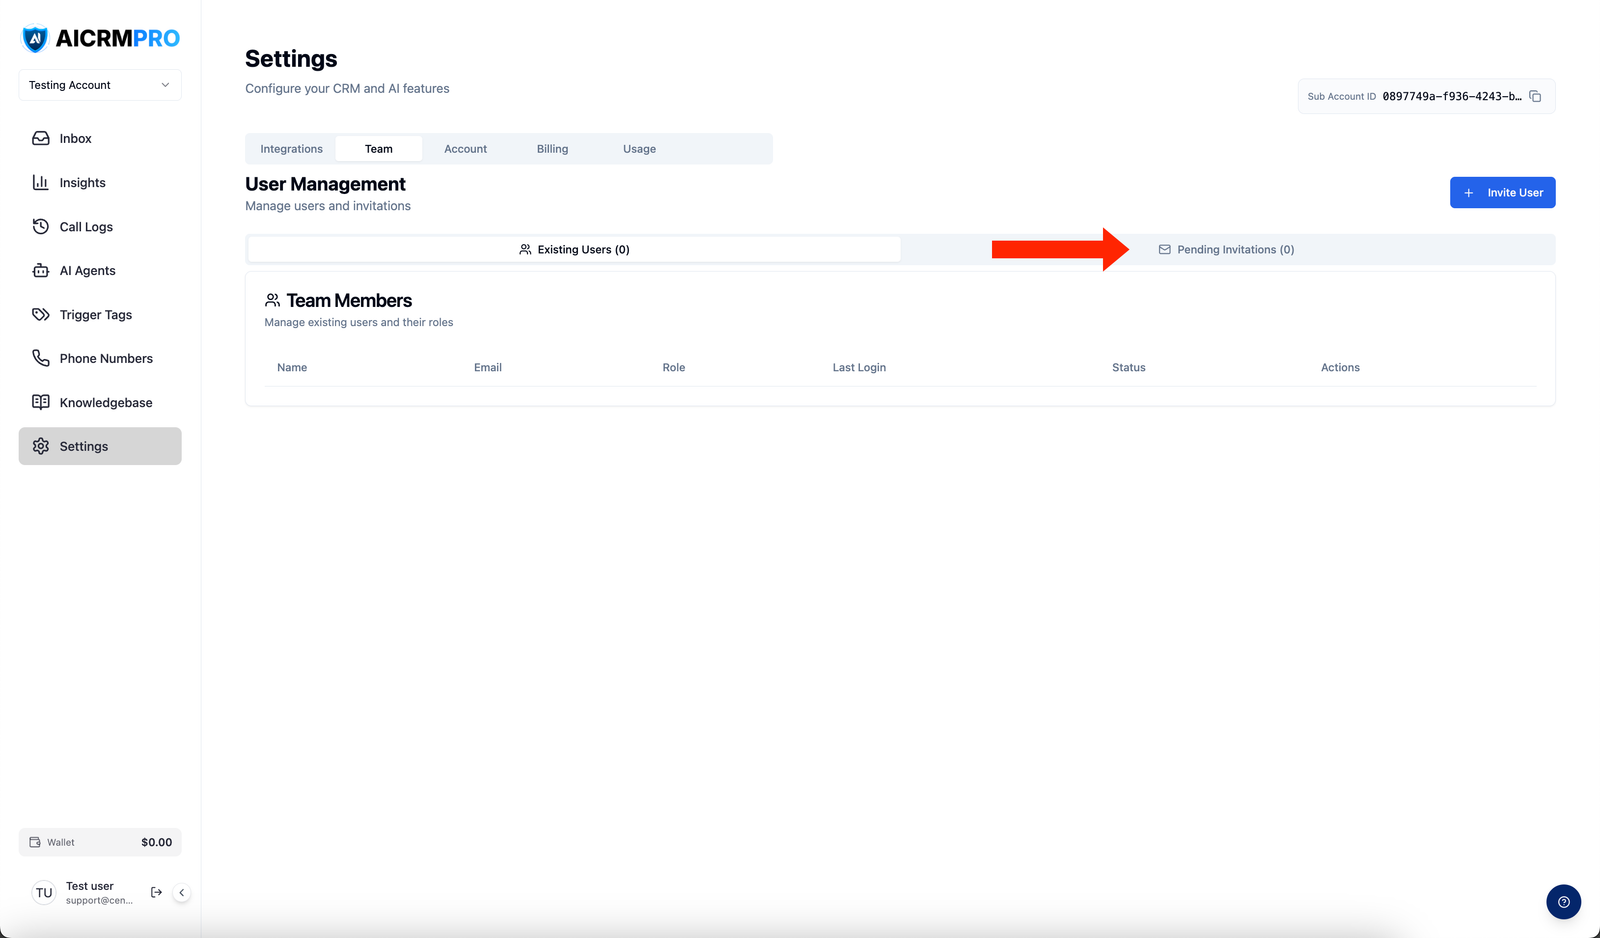
- Send the invitation
Click Send Invite. The user receives an email with a setup link.
Change a role or remove a user
From Settings > Team, click a user’s name to edit their role or remove their access. Changes take effect immediately.