White label Centerfy AI: launch your branded platform
Launch your own branded AI sales platform — custom logo, domain, colors, and login screen, with Centerfy powering everything behind the scenes.
White labeling lets you run Centerfy AI as your own product. Your clients log in at your domain, see your logo, and interact with your color scheme throughout — the Centerfy name never appears. Whether you run a marketing agency, an AI automation agency, or a white-label SaaS resell business, you can deliver a polished, fully branded platform without building the underlying technology yourself.
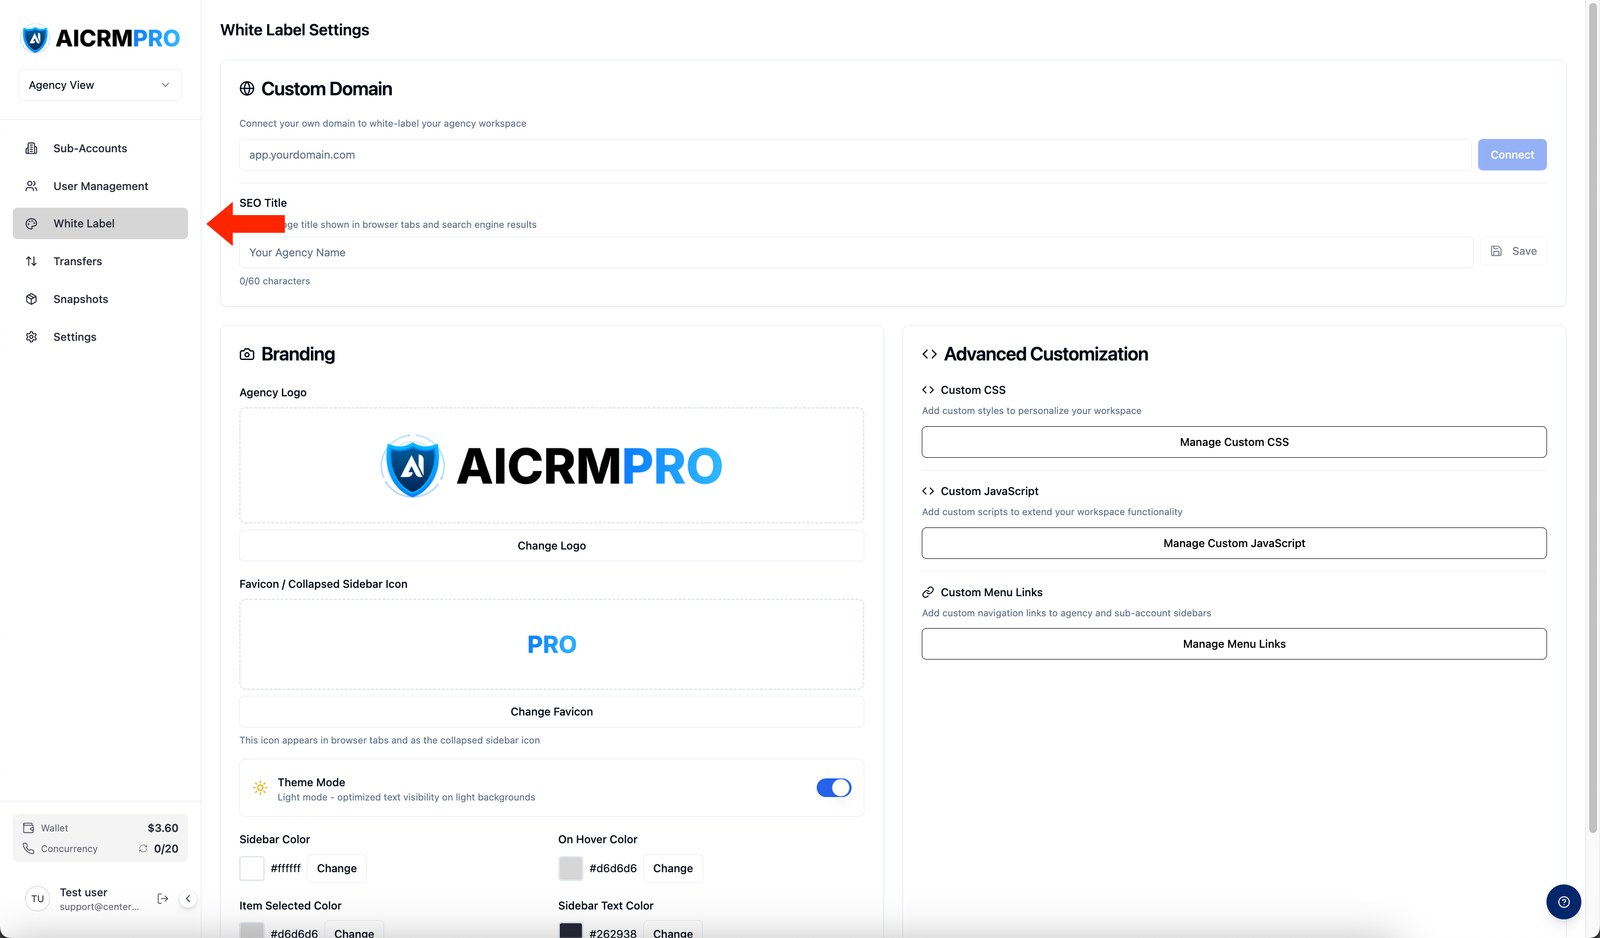
Accessing white label settings
Navigate to Agency Workspace > White Label to open the branding dashboard. You can also reach most branding options through Agency Workspace > Settings.
Branding configuration
Logo
Upload separate logo files for dark mode and light mode so the logo always looks correct against your chosen sidebar color.
- Open the logo uploader
In the Branding card, click Upload Logo (or Change Logo if one is already set). You can also drag and drop an image file directly onto the upload area.
- Upload light and dark versions
Upload your dark-background logo first (shown when the sidebar is a dark color), then switch theme mode with the Theme Mode toggle and upload your light-background logo.
- Save
The logo updates immediately across the platform for all users in your agency and sub-accounts.
![]()
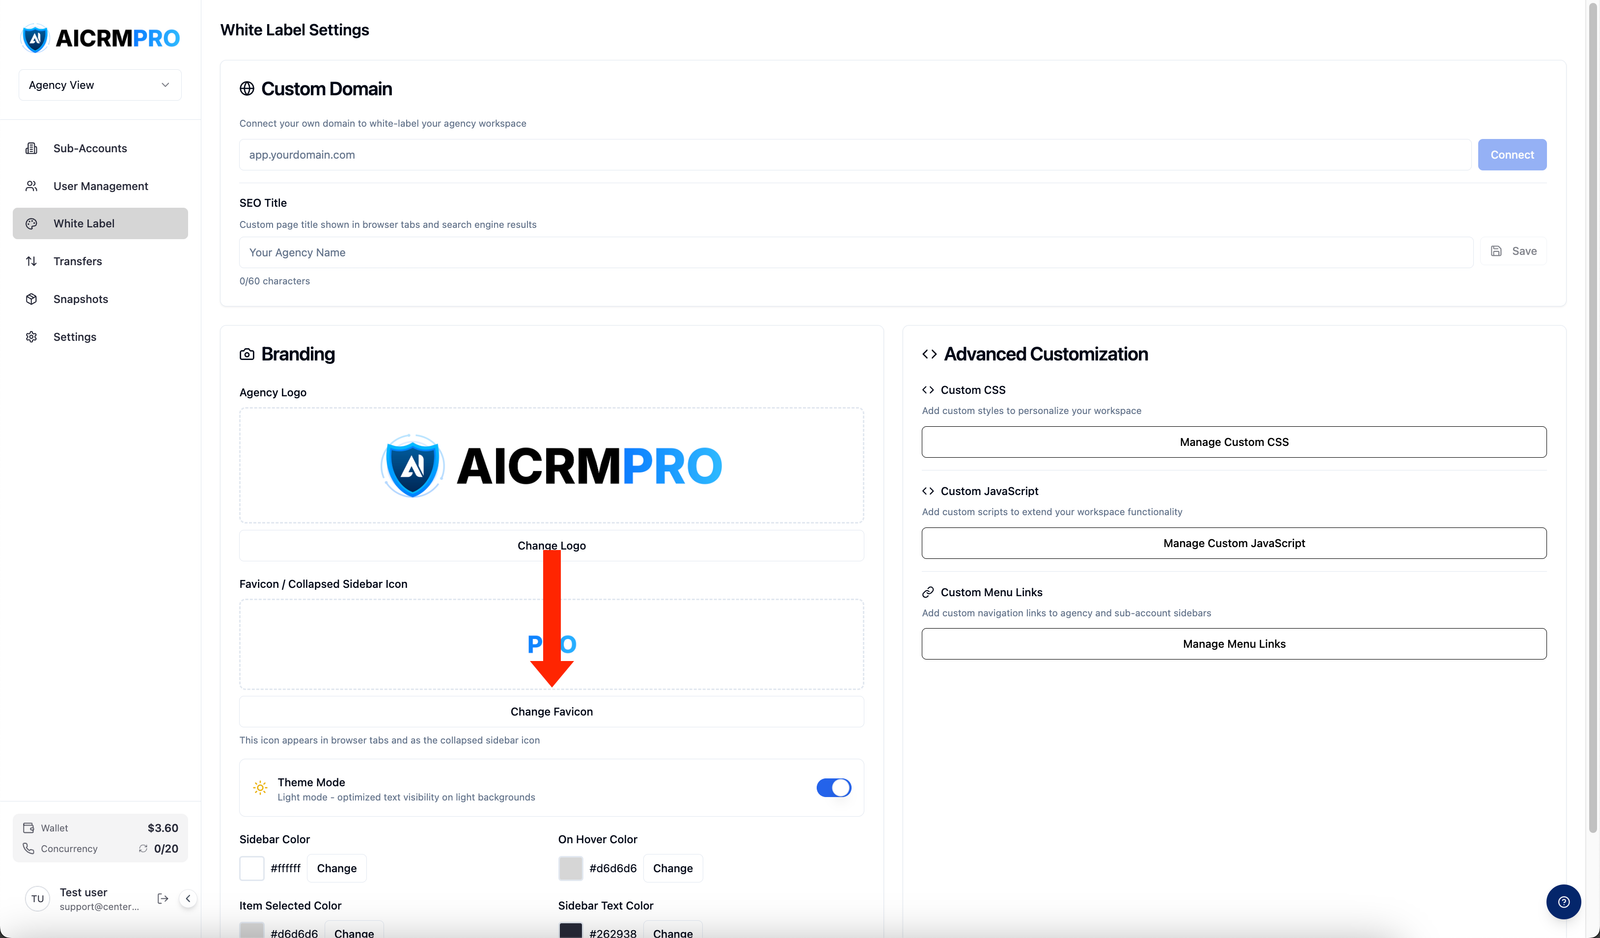
Favicon
Your favicon appears in browser tabs and as the collapsed sidebar icon when clients minimize the navigation panel. Click Upload Favicon in the Branding card and upload a square image (recommended: 32×32 px or 64×64 px PNG or ICO).
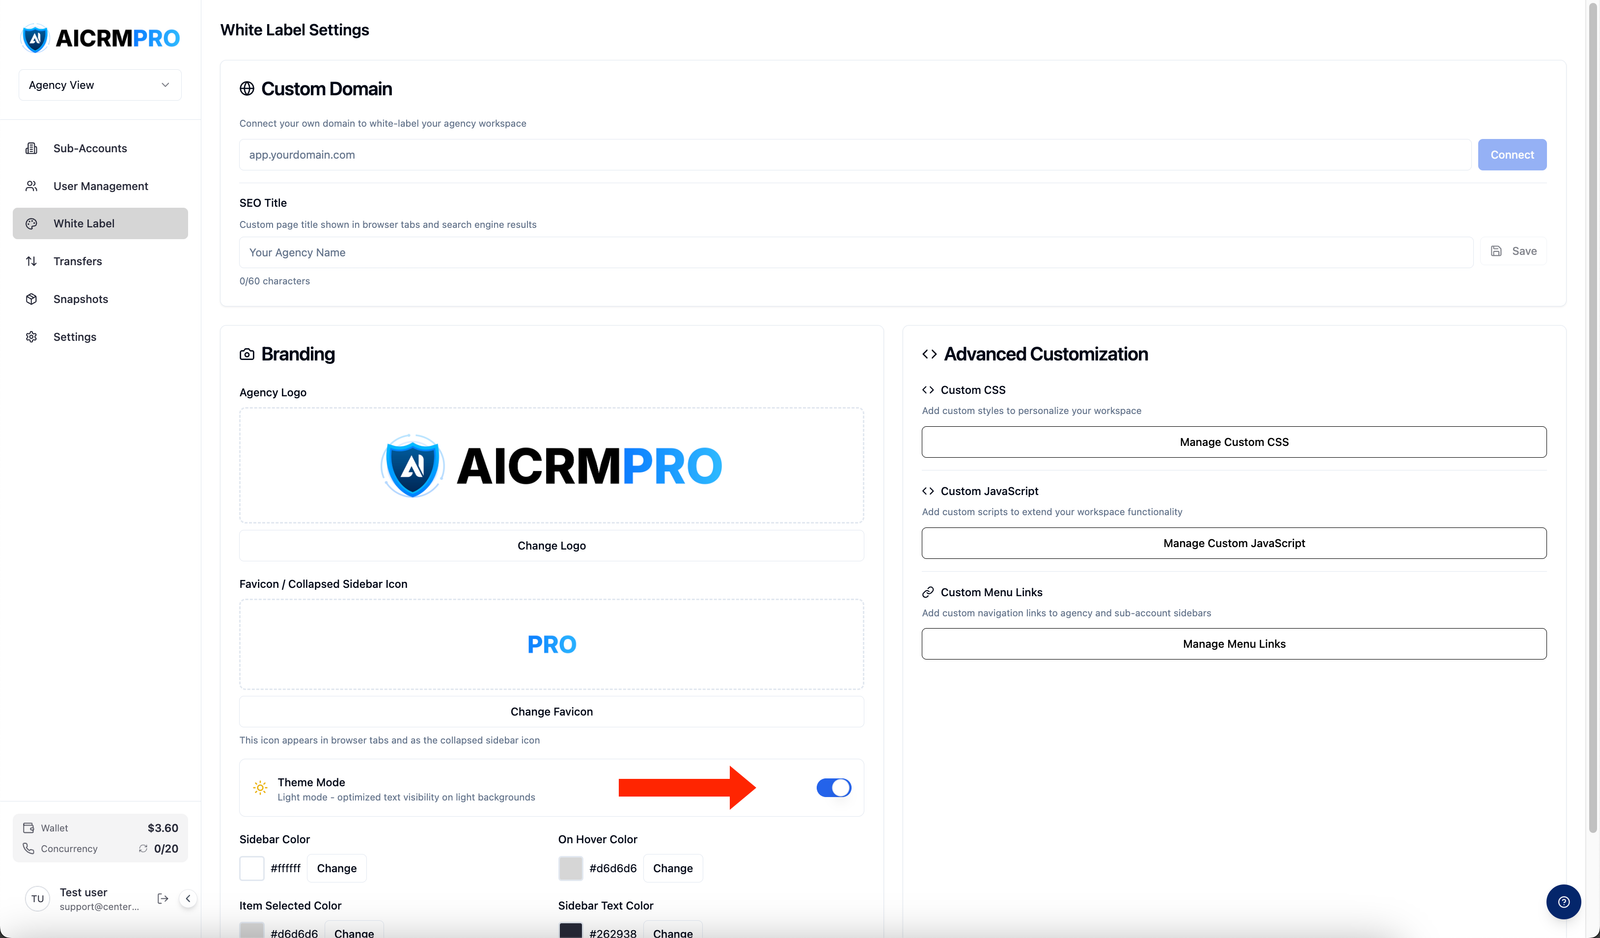
Theme mode
Toggle Theme Mode between dark and light. Dark mode renders white text on your colored sidebar. Light mode optimizes text visibility on light backgrounds. Each mode stores its own logo, sidebar color, hover color, selected item color, and text color independently — switching modes applies the correct set automatically.
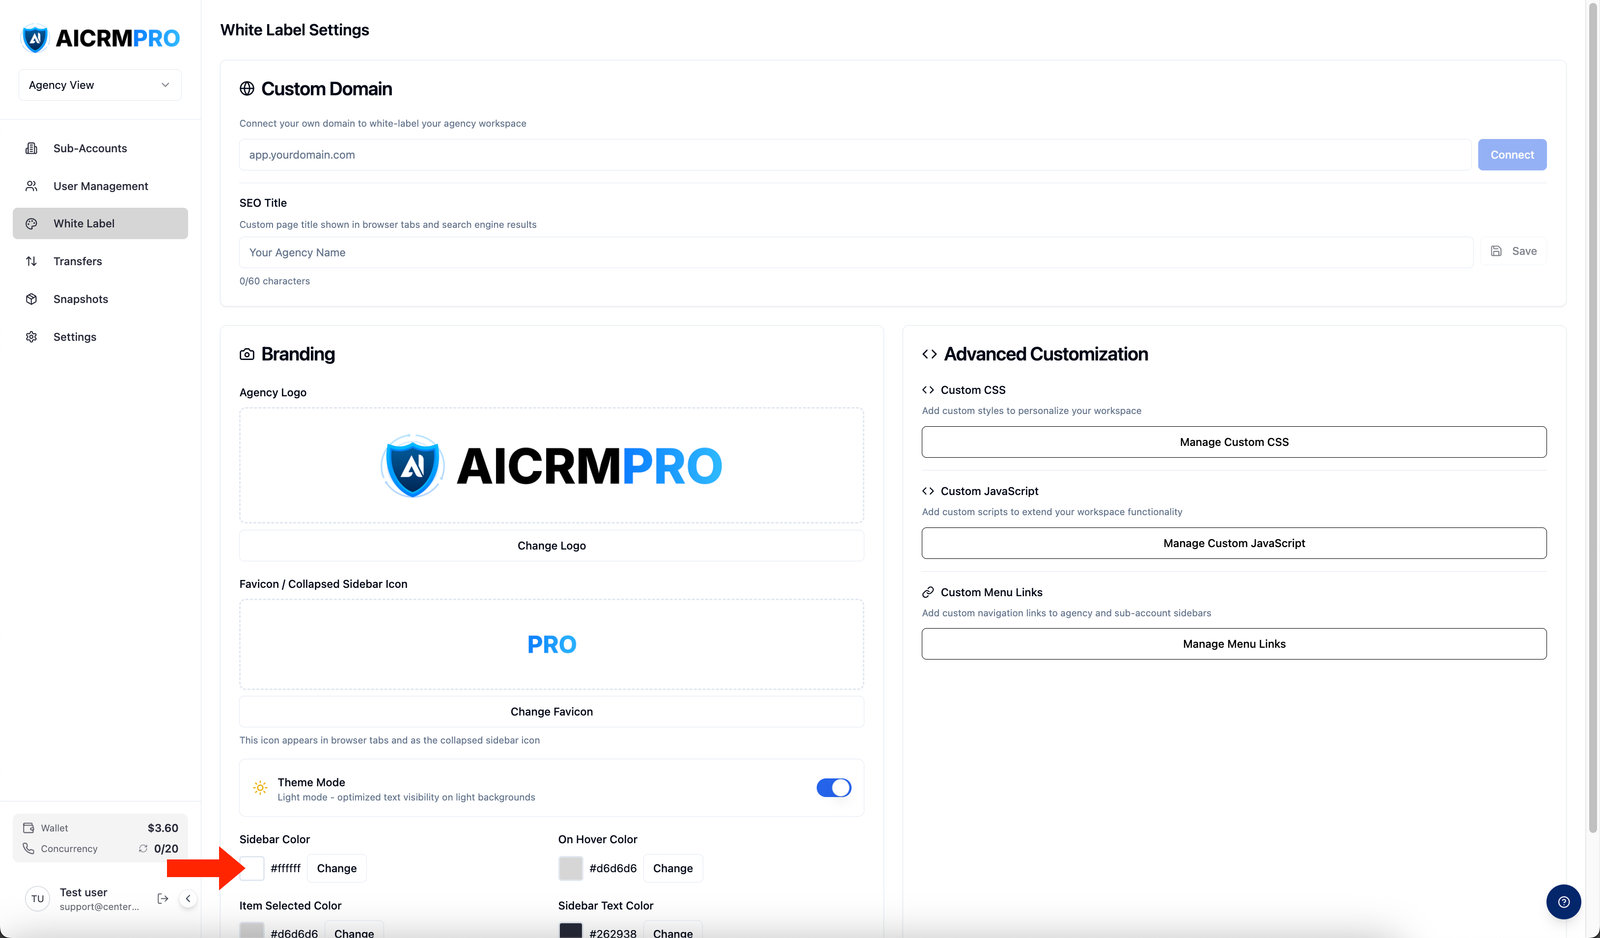
Brand colors
The color grid in the Branding card controls every color token in the sidebar and UI. Click Change next to any swatch to open a color picker.
| Setting | What it controls |
|---|---|
| Sidebar Color | The main sidebar background color |
| On Hover Color | Sidebar item background when a user hovers |
| Item Selected Color | Sidebar item background when active/selected |
| Sidebar Text Color | Text and icon color inside the sidebar |
| CTA Button Color | Primary action buttons throughout the platform |
| Pill/Badge Color | Status pills and count badges |
Changes apply instantly — you can preview them in real time without saving separately.
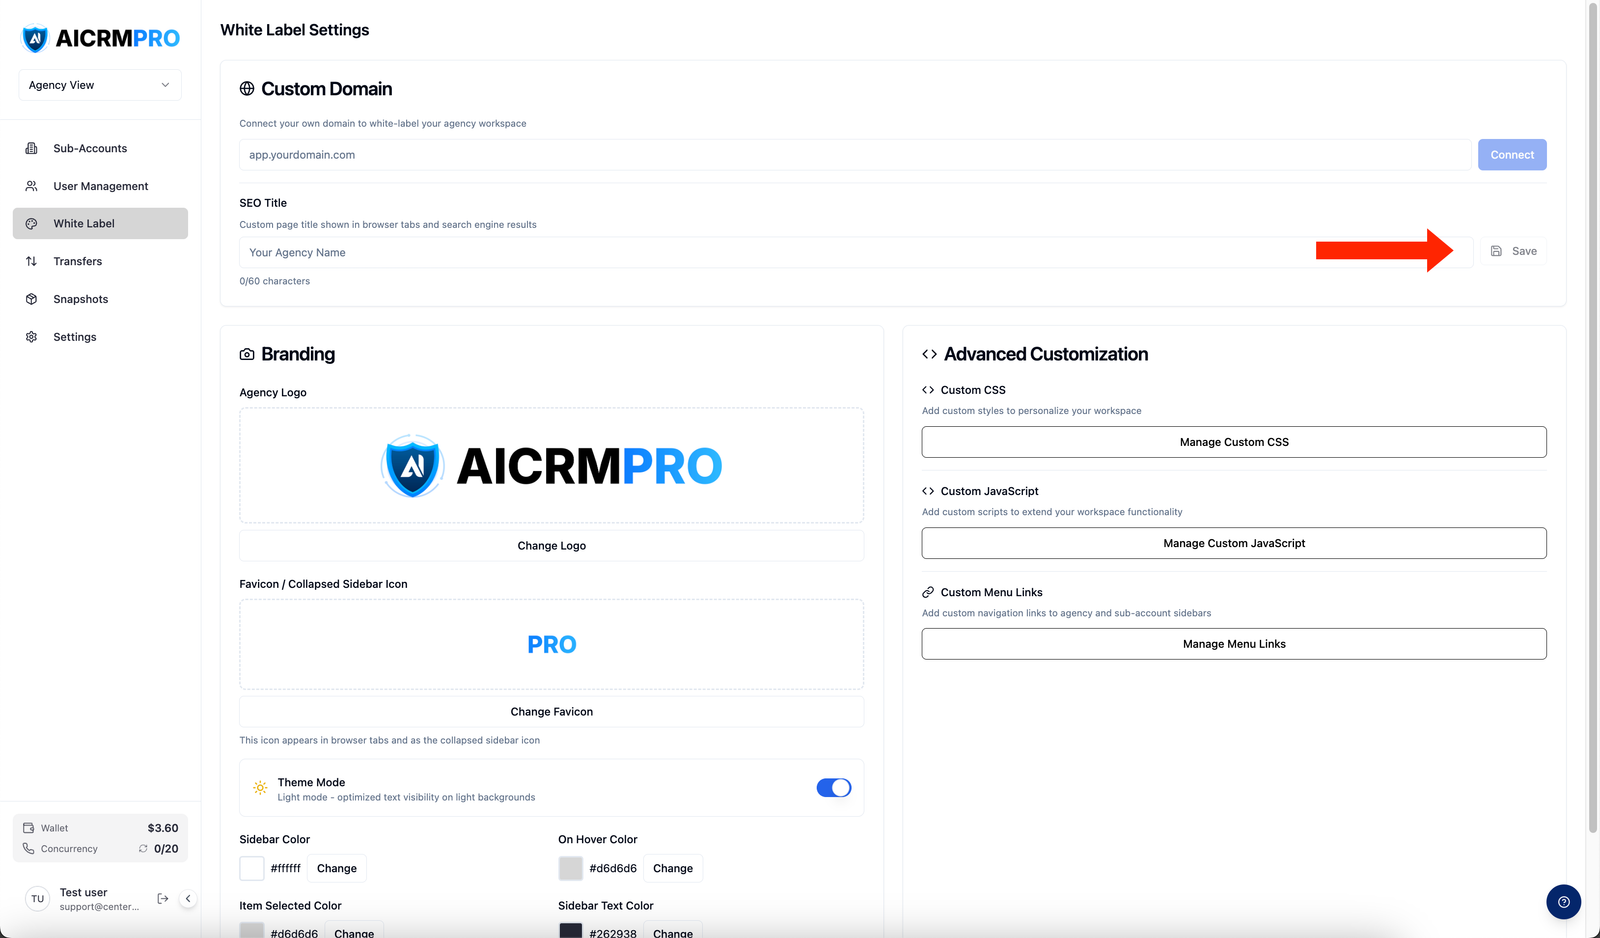
SEO title
The SEO title appears in the browser tab for your platform. Set it in the Custom Domain card under the SEO Title field. Use your agency or product name (for example, “Acme AI — Client Portal”).
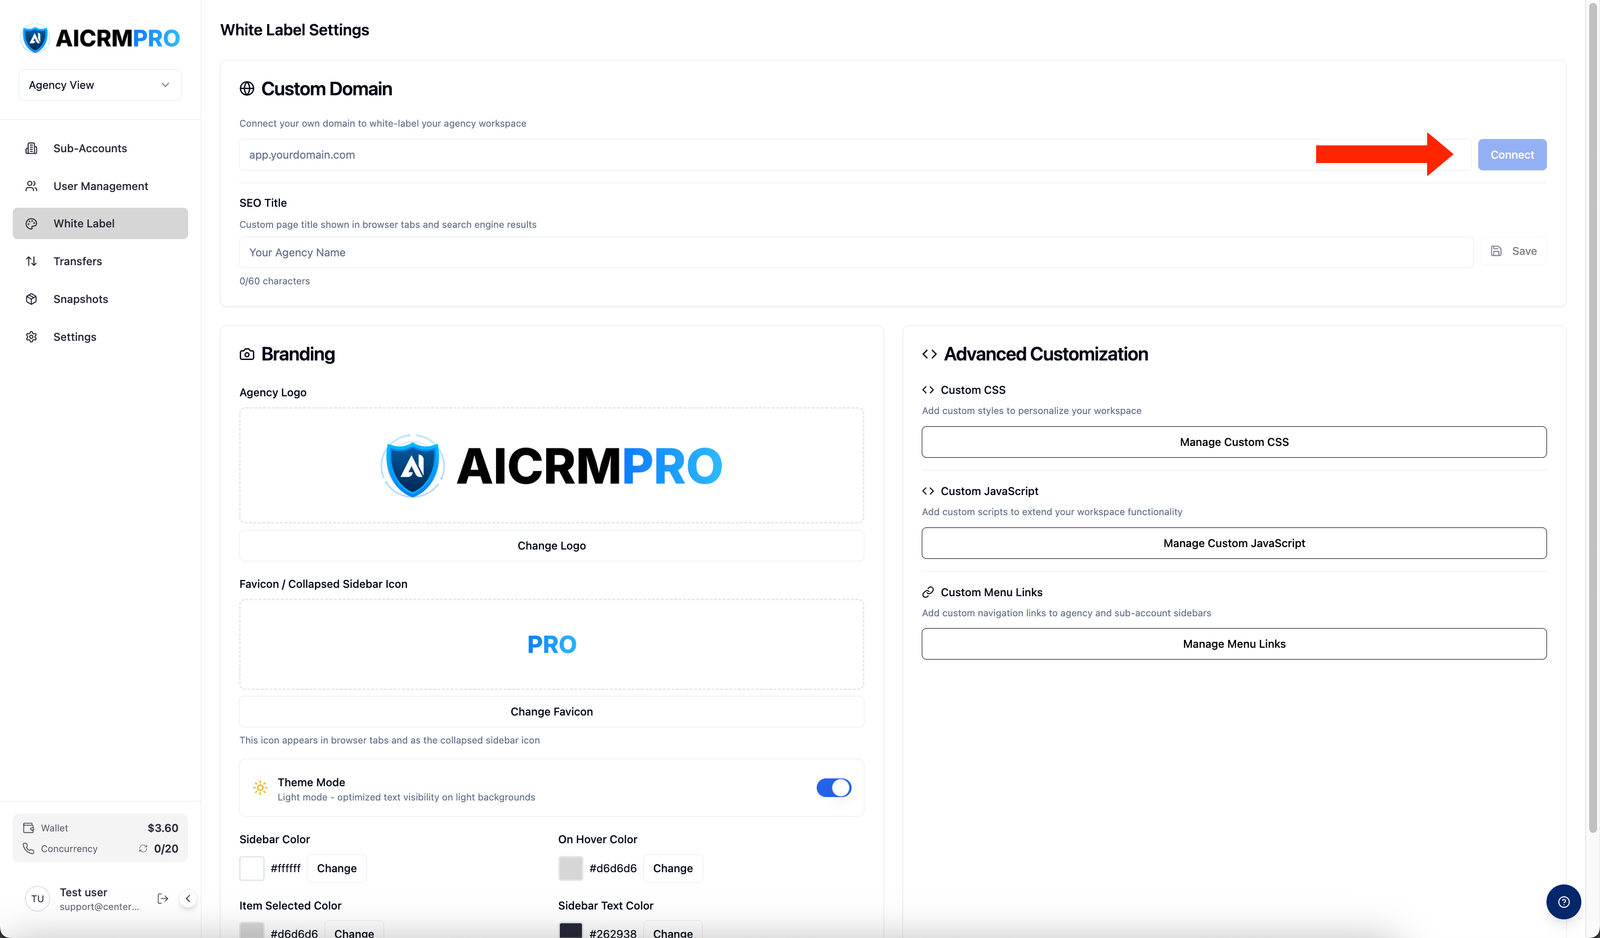
Custom domain
Point your own domain or subdomain at Centerfy so clients log in at your branded URL — for example, app.youragency.com — instead of a Centerfy domain.
- Add a CNAME record
In your DNS provider, create a CNAME record pointing your subdomain to Centerfy’s servers. The exact target hostname is shown in the Custom Domain card inside Agency Workspace > White Label.
- Enter your domain in Agency Settings
Back in Centerfy, go to Agency Workspace > White Label, find the Custom Domain card, and enter your full domain or subdomain (for example,
app.youragency.com). Click Save. - Wait for DNS propagation
DNS changes typically propagate within a few minutes but can take up to 48 hours depending on your provider. The domain card shows the current verification status so you can monitor progress.
Branded email (SMTP)
Configure your own SMTP credentials so that all automated platform emails — invitations, notifications, and password resets — are sent from your domain rather than a Centerfy address. Go to Agency Workspace > Settings > SMTP Config and enter your SMTP host, port, username, and password.
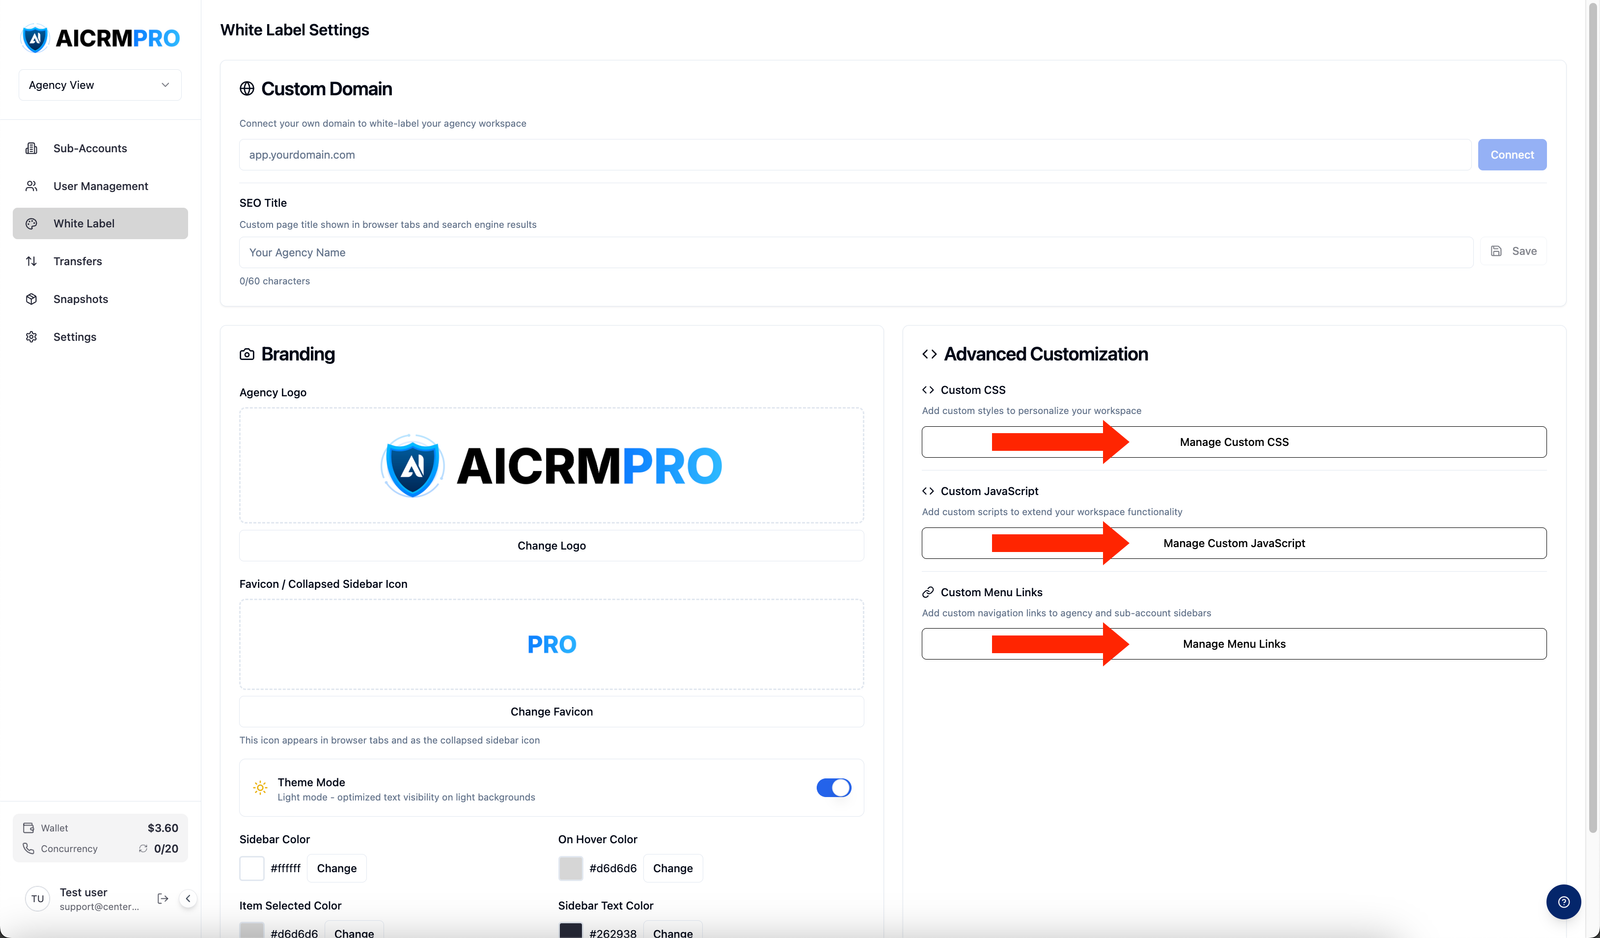
Advanced customization
Add your own CSS rules to override any platform styling that the color pickers don’t cover. Go to Agency Workspace > White Label, then click Manage Custom CSS in the Advanced Customization card.
Inject custom scripts to extend platform behavior — for example, adding a third-party chat widget or analytics snippet. Click Manage Custom JavaScript in the same Advanced Customization card.
Add extra navigation items to the sidebar for both your agency view and your sub-account users’ views. Click Manage Menu Links and enter a label, URL, and target audience for each link.
The login screen is currently generic and does not reflect your white-label branding. Your custom logo, colors, and domain apply everywhere inside the platform once users sign in.