Connect Centerfy AI to GoHighLevel, Stripe, and more
Sync contacts and appointments with GoHighLevel, connect Google Calendar, accept payments via Stripe, and receive Facebook and Instagram DMs in Centerfy.
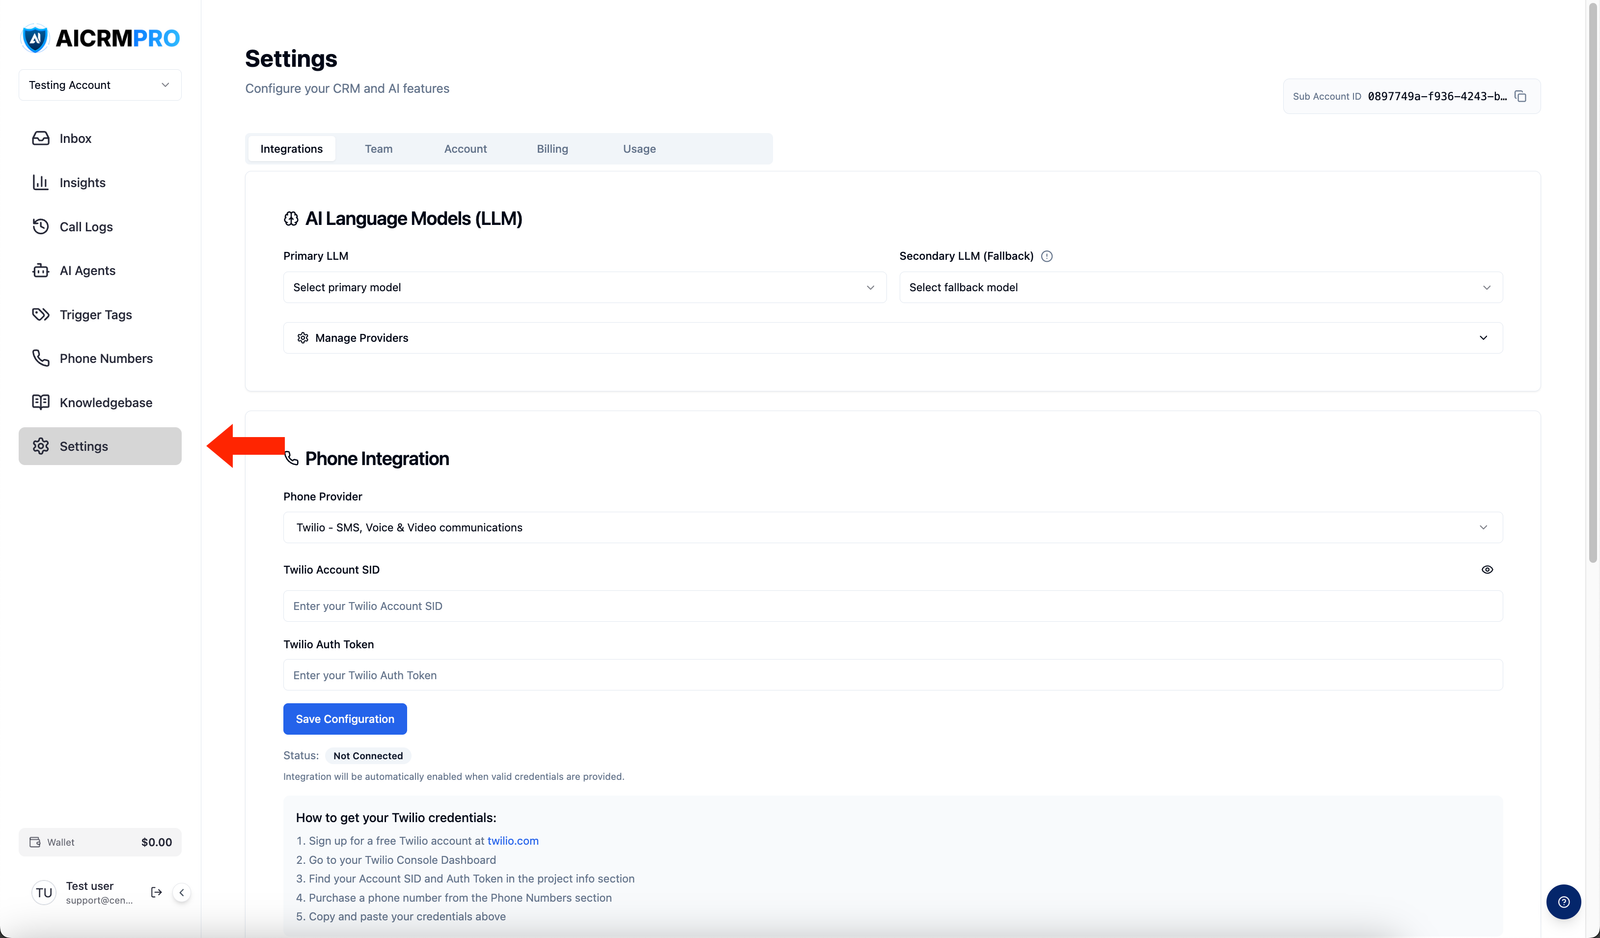
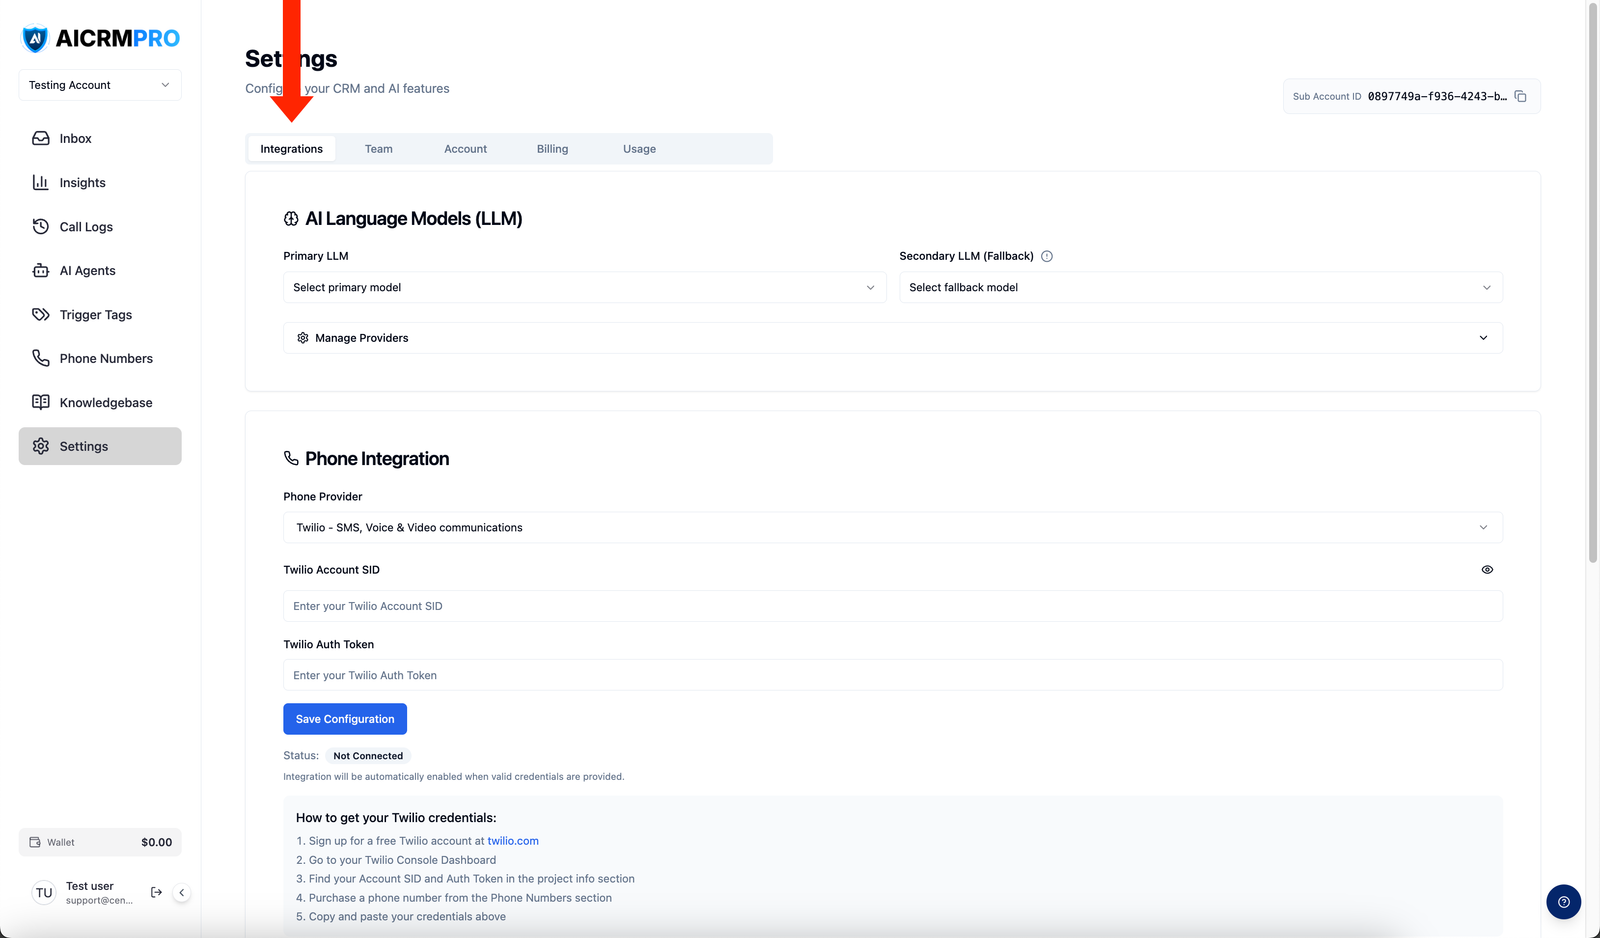
Centerfy integrates with the tools you already use — your CRM, calendar, social media accounts, and payment processor. Connecting these tools means data flows between systems automatically: calls get logged in your CRM, appointments appear on your calendar, and messages from Facebook and Instagram land in your Conversations inbox.
Navigate to Settings → Integrations to manage all connections from one place.
GoHighLevel
The GoHighLevel (GHL) integration keeps your contacts, conversations, appointments, tags, and notes in sync between Centerfy and your GHL sub-account.
What syncs:
- Inbound and outbound calls are logged automatically in GHL as call activities
- Appointments booked through Centerfy agents are created in your GHL calendar
- Contact tags are synced in real time in both directions
- GHL workflows can trigger Centerfy agents, and Centerfy events can trigger GHL workflows
- Open the GoHighLevel integration
Go to Settings → Integrations → GoHighLevel and click Connect.
- Authorize access
You’re redirected to GoHighLevel to complete the OAuth authorization. Sign in to GHL and approve the connection.
- Confirm the connection
Once authorized, you’re returned to Centerfy and the integration shows as Connected. Syncing begins immediately.
Google Calendar
Connect your Google Calendar to keep Centerfy appointments in sync with your personal or team calendar. When your AI agent books an appointment, it appears on your Google Calendar automatically.
- Open the Google Calendar integration
Go to Settings → Integrations → Google Calendar and click Connect with Google.
- Choose your account
Select the Google account you want to connect and grant calendar access.
- Select a calendar
Choose which calendar Centerfy should write appointments to. You can connect multiple team members’ calendars separately.
Stripe
Connect Stripe to collect payments through Centerfy — send invoices, process transactions, and track payment status from within the platform.
Connect your Stripe account to accept payments from contacts in your Centerfy account.
Go to Settings → Integrations → Stripe and click Connect Stripe. You’re redirected to Stripe to complete the OAuth flow. Once connected, you can send payment links and collect payments from the Contacts and Conversations views.
Agency accounts can connect Stripe to rebill sub-accounts for platform usage and add-ons. See Agency Billing & Rebilling for the full setup guide.
Facebook / Meta
Connect your Facebook and Instagram pages to receive direct messages in your Centerfy Conversations inbox. Your AI agents can respond to DMs from both platforms the same way they handle inbound calls and SMS.
- Open the Facebook integration
Go to Settings → Integrations → Facebook and click Connect Facebook Account.
- Log in to Facebook
A pop-up window opens for Facebook authentication. Log in with the account that manages your business page.
- Select your page
Choose the Facebook Page (and linked Instagram account, if applicable) you want to connect. Click Confirm.
Once connected, new DMs to your Facebook Page and Instagram account appear in Conversations in real time.
OpenAI
Centerfy uses AI to power your voice agents and automations. By default, Centerfy manages the underlying AI infrastructure for you. Agency accounts have the option to connect their own OpenAI API key if they want to use their own OpenAI account for billing or custom model configuration.
Go to Settings → Integrations → OpenAI, enter your API key, and click Save. This setting is optional — if you leave it blank, Centerfy’s built-in AI continues to power your agents.
Webhooks
Webhooks let you send event data from Centerfy to any external system the moment something happens — a new contact is created, an appointment is booked, a call ends, or a form is submitted.
Available events:
contact.createdappointment.bookedcall.completedform.submitted
- Add a webhook endpoint
Go to Settings → Integrations → Webhooks and click Add Webhook URL.
- Enter your endpoint URL
Paste the URL of the endpoint that should receive the event data. This must be a publicly accessible HTTPS URL.
- Select events
Check the events you want this webhook to fire for. You can create multiple webhooks pointing to different URLs with different event sets.
- Save and test
Click Save. Use the Send Test Event button to verify your endpoint receives the payload correctly.
Centerfy sends event data as a JSON POST request. Here’s an example payload for appointment.booked:
{
"event": "appointment.booked",
"contact_id": "c_12345",
"contact_name": "Jane Smith",
"phone": "+15551234567",
"appointment_time": "2024-03-15T14:00:00Z",
"calendar_id": "cal_abc123",
"agent_id": "agent_xyz789"
}