Deploy an AI chat agent on your website
Add a Centerfy chat widget to your website to engage visitors, qualify leads, and book appointments automatically.
A chat agent appears as a widget on your website and engages visitors automatically. It answers questions from your knowledge base, qualifies leads, collects contact info, and books appointments — all without human involvement.
What a chat agent does
- Engages visitors with a configurable welcome message
- Answers questions using your linked knowledge base
- Qualifies leads with custom questions
- Books appointments using available calendar slots
- Tags contacts and adds CRM notes based on conversation outcomes
- Sends follow-up SMS after the visitor leaves
Create a chat agent
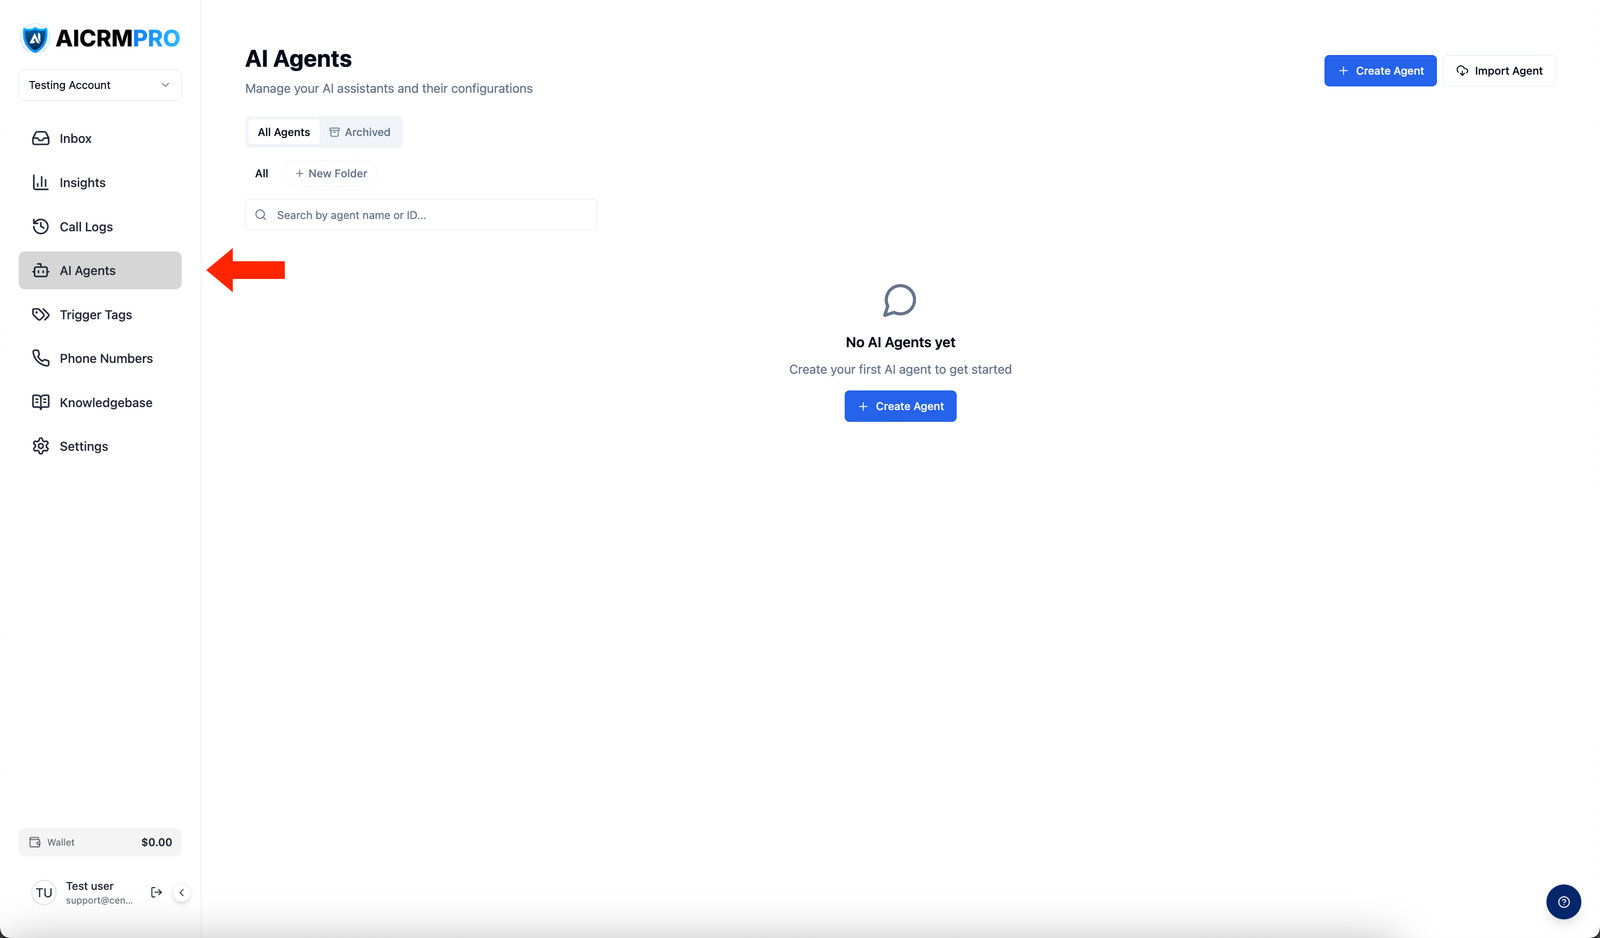
- Open AI Agents
Navigate to AI Agents in the sidebar.
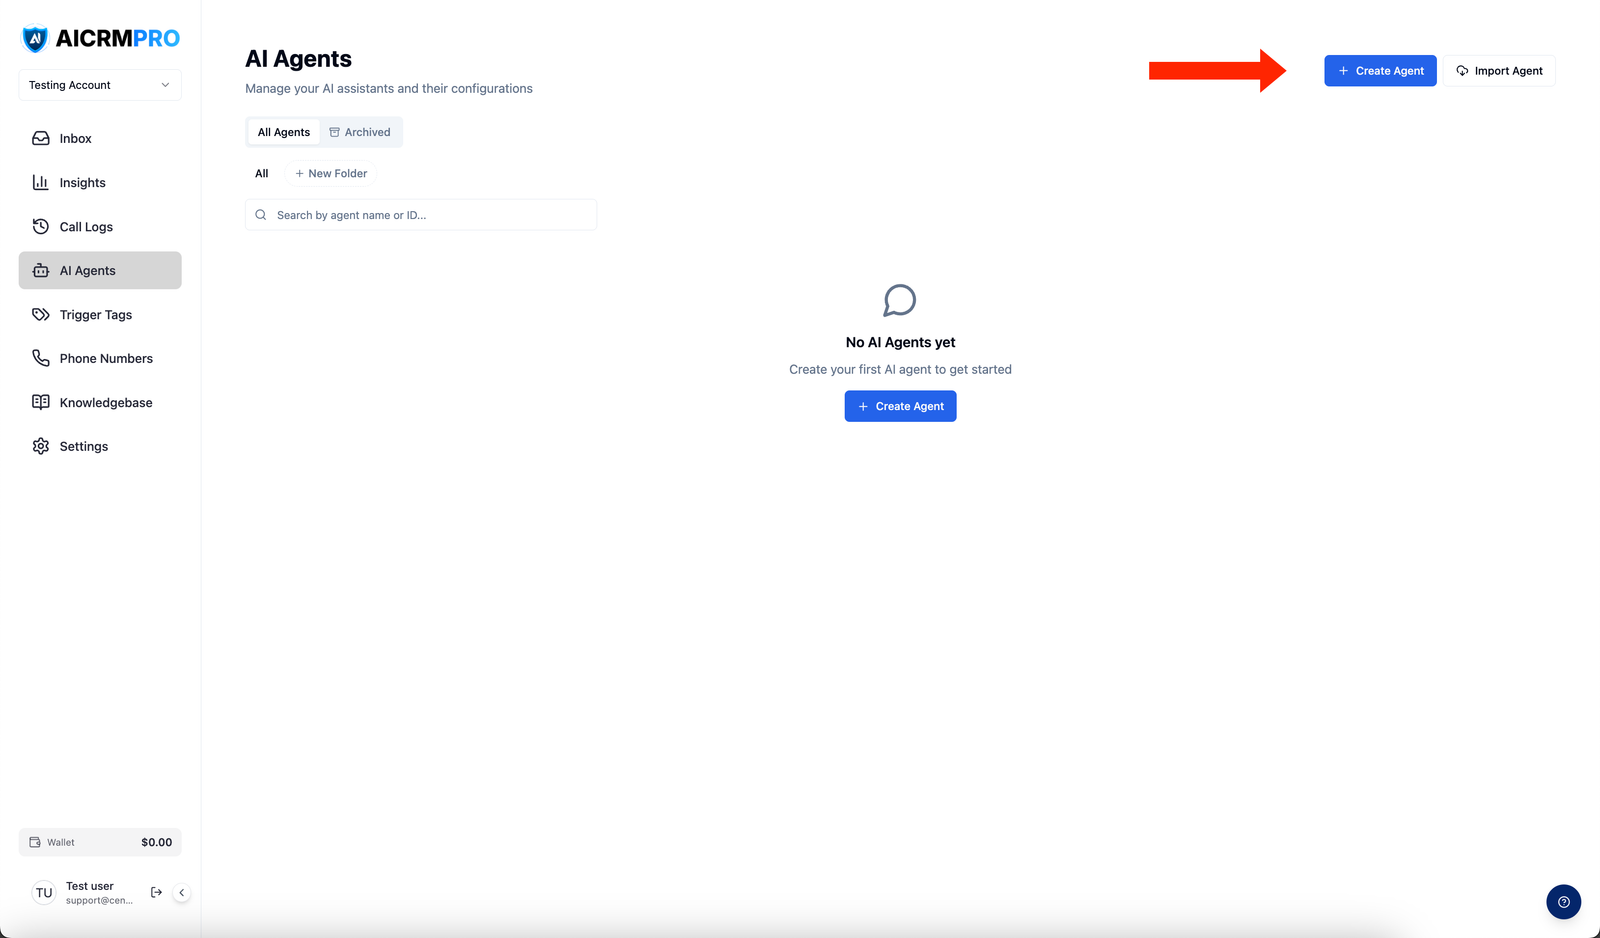
- Create agent
Click Create Agent and select Chat.
- Configure the widget
Use the Agent Builder tabs to set up appearance, prompt, tools, and knowledge base.
- Copy the embed script
In the Agent Settings tab, copy the embed script under Widget Embed Code.
- Add to your website
Paste the script tag before the closing
</body>tag on every page where you want the widget. - Test
Use the preview panel in the Agent Builder to interact with the widget before it goes live.
Widget settings
- Name and avatar: Set the display name and avatar shown in the widget header
- Welcome message: The first message visitors see when the widget loads
- System prompt: Define the agent’s role, tone, qualification questions, and booking behavior. Use the AI Prompt Generator on the Global Prompt for a starting draft.
Embed on different platforms
- WordPress: Use a plugin like Insert Headers and Footers to add the script to your footer
- Webflow: Go to Project Settings > Custom Code and paste in the Footer Code field
- Custom HTML: Paste the script directly before
</body>
Tools available to chat agents
Enable tools in the Tools & Abilities tab:
- Book Appointment: Check calendar and book meetings in the conversation
- Add Contact Tag: Tag contacts based on qualification or conversation outcome
- Send Follow-up SMS: Send a text after the chat (e.g., booking confirmation or resource link)