Set up AI voice agents for phone calls
Configure voice agents to answer inbound calls, make outbound calls, qualify leads, book appointments, and transfer to your team.
Voice agents are AI phone assistants that handle calls on your behalf. Inbound agents answer every call instantly. Outbound agents dial contacts automatically via workflows. Both qualify leads, book appointments, and sync data to your CRM.
What a voice agent does
- Answers every inbound call 24/7
- Makes outbound calls via workflows or manual triggers
- Qualifies leads with custom questions during the conversation
- Books appointments by checking real-time calendar availability
- Transfers to a human with full context when needed
- Transcribes every call automatically
Create a voice agent
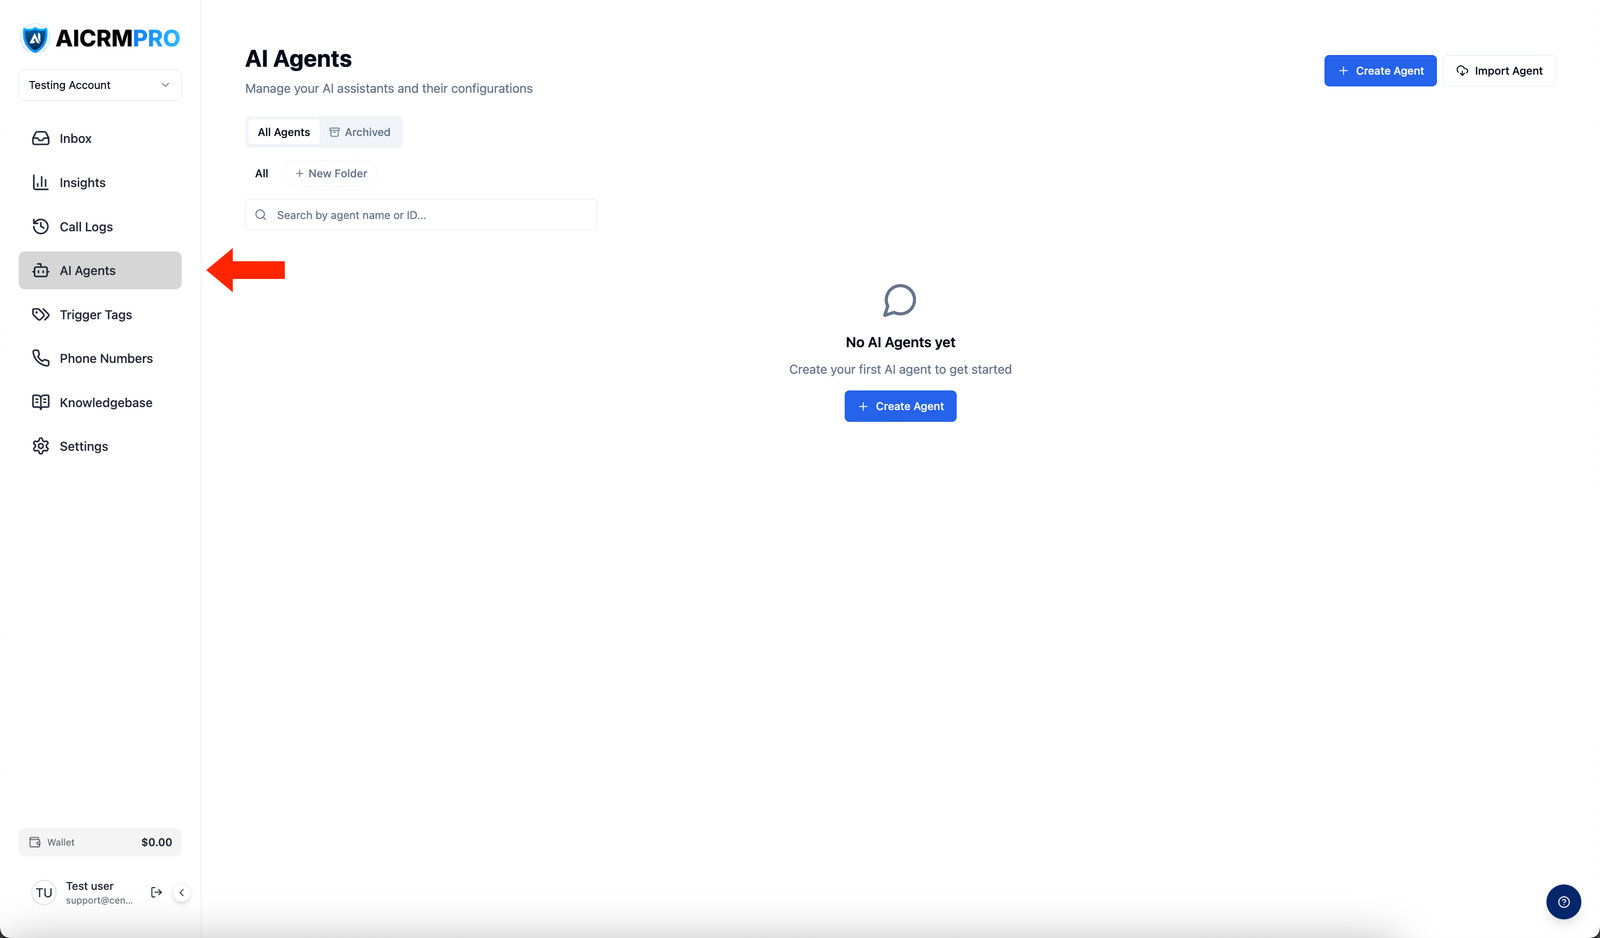
- Open AI Agents
Navigate to AI Agents in the sidebar.
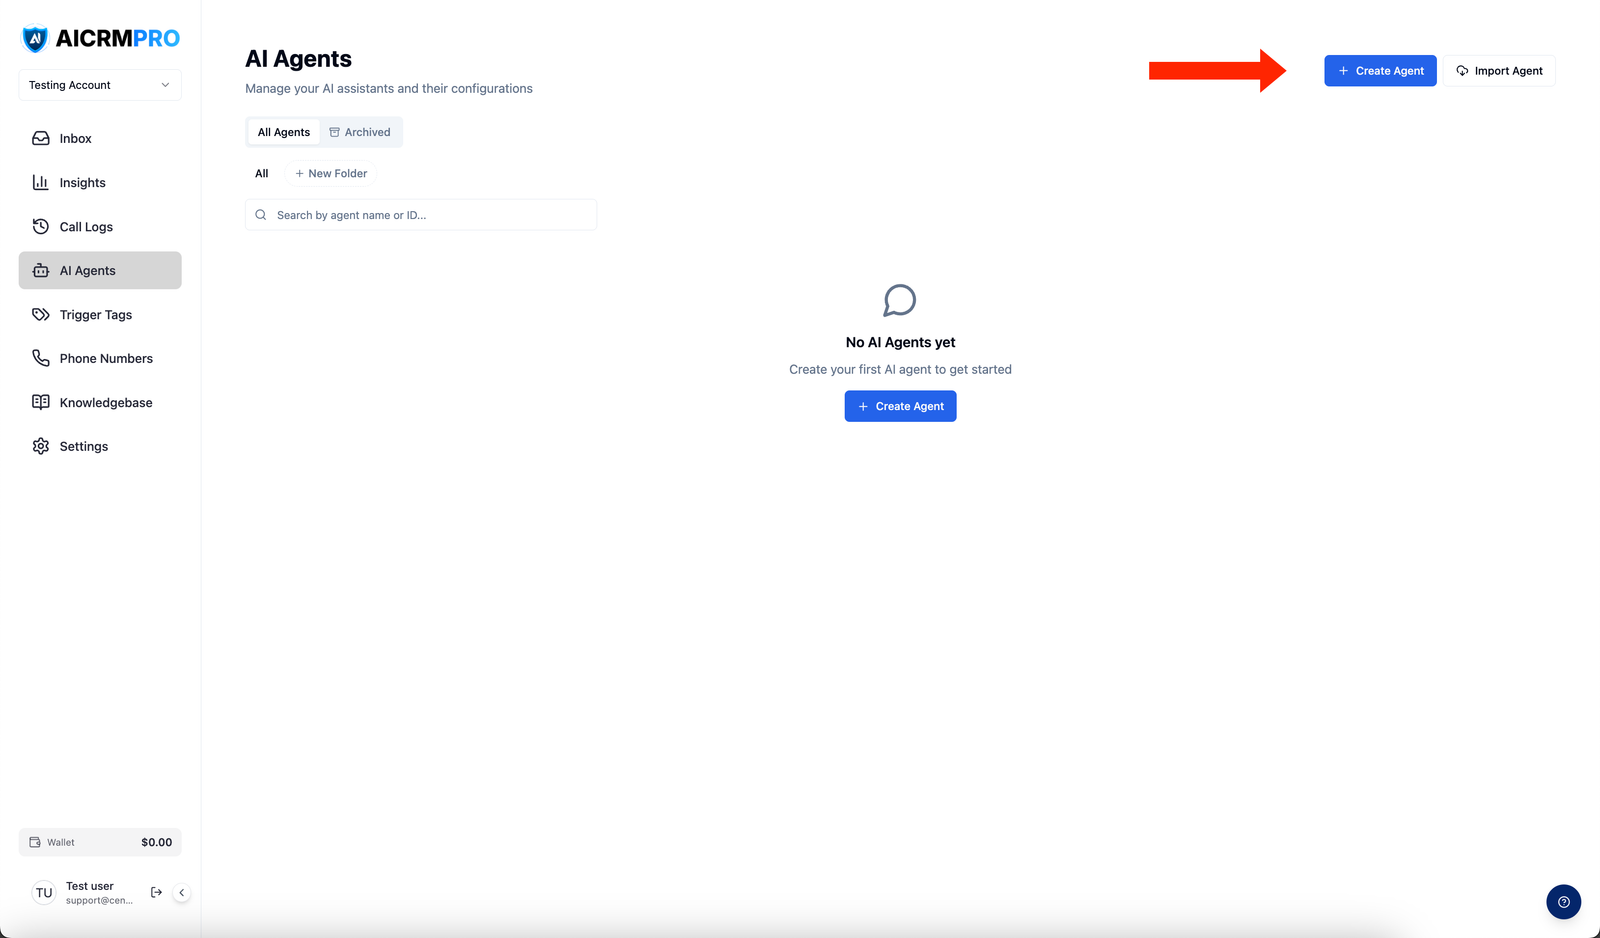
- Create agent
Click Create Agent and select Voice.
- Name your agent
Give it an internal name (e.g., “Inbound Sales Agent”). Only visible to your team.
- Configure the agent
Use the Agent Builder tabs to set up prompt, voice, tools, and knowledge base.
- Assign a phone number
In the Agent Settings tab, select a phone number. Inbound calls to that number route to this agent.
- Test with Voice Lab
Click Voice Lab to simulate a call before going live.
- Save and publish
Click Save and Publish. The agent goes live immediately.
Key configuration
- Prompt (Global Prompt): Define identity, conversation flow, qualification logic, and tool usage
- Voice (Call Settings): Browse and preview voices, filter by gender, set language
- Tools (Tools & Abilities): Enable booking, tagging, CRM notes, call transfer, SMS, and contact lookup
- Knowledge Base: Link a knowledge base from within the agent configuration for accurate answers
- Call recording, voicemail detection, max call time, silence timeout, post-call actions: Configured in Call Settings
Enable outbound calling
- In the Agent Settings tab, toggle on Make Outbound Calls.
- Select the outbound caller ID number.
- Use a Workflow to trigger calls based on form submissions, tags, or other events.
Test with Voice Lab
- Open the agent in the Agent Builder.
- Click Voice Lab.
- Speak with the agent as a caller would.
- Review the transcript, adjust the prompt, and re-test.