Let AI book appointments directly into your calendar

Configure calendars so your AI agents can schedule appointments in real time during calls and chats — no back-and-forth scheduling links needed.

Calendars in Centerfy allow your AI agents to book appointments on the spot, during an active call or chat conversation. When a caller says they want to schedule a time, the AI checks your real-time availability, offers open slots, and confirms the booking — all within the same conversation, without sending a scheduling link or requiring any manual action from your team.

Setting up a calendar

Go to Calendars (or Schedule) in the sidebar, then click Create Calendar.

  1. Name and describe the calendar

    Give the calendar a name that reflects its purpose (for example, “Sales Consultation — John” or “Free Strategy Call”). An optional description appears on the public booking page.

  2. Configure availability

    Set the days of the week you are available, along with the start and end times for each day. Select your timezone so appointments are booked in the correct local time.

  3. Set appointment details

    Configure:

    • Appointment duration — how long each slot lasts (e.g., 30 minutes, 1 hour)
    • Buffer time — a gap between appointments to prevent back-to-back bookings
    • Max appointments per day — a cap on how many bookings can be made in a single day
    • Meeting type — in-person, phone call, or video
  4. Set up reminders

    Enable automatic SMS and/or email reminders. Configure when each reminder sends — for example, 24 hours before and 1 hour before the appointment. Reminders go to the contact automatically; no manual follow-up needed.

  5. Connect your Google Calendar (optional)

    To sync with Google Calendar, click Connect Google Calendar and authorize the integration. Existing Google Calendar events block off time in Centerfy so the AI does not offer those slots.

  6. Save the calendar

    Click Save. Your calendar is now available to assign to AI agents and share as a public booking link.

Assigning a calendar to an AI agent

Open the AI agent you want to use for bookings, go to the Calendar tab in agent settings, and select the calendar you just created. Once assigned, the agent automatically checks availability and books appointments when a caller or chat contact requests one.

How AI booking works in a conversation

When a contact expresses interest in scheduling, the AI:

  1. Checks real-time availability on your calendar
  2. Offers two or three open time slots to the contact
  3. Confirms the contact’s preferred slot
  4. Creates the appointment and sends a confirmation SMS or email to the contact

The entire exchange happens within the ongoing call or chat — no links, no follow-up required.

Every calendar has a shareable booking link that contacts can use directly. Share this link in email signatures, SMS messages, or on your website. Contacts who use the link pick a time slot from your live availability and confirm their own appointment.

To find the link, open the calendar settings and copy the Booking Link URL.

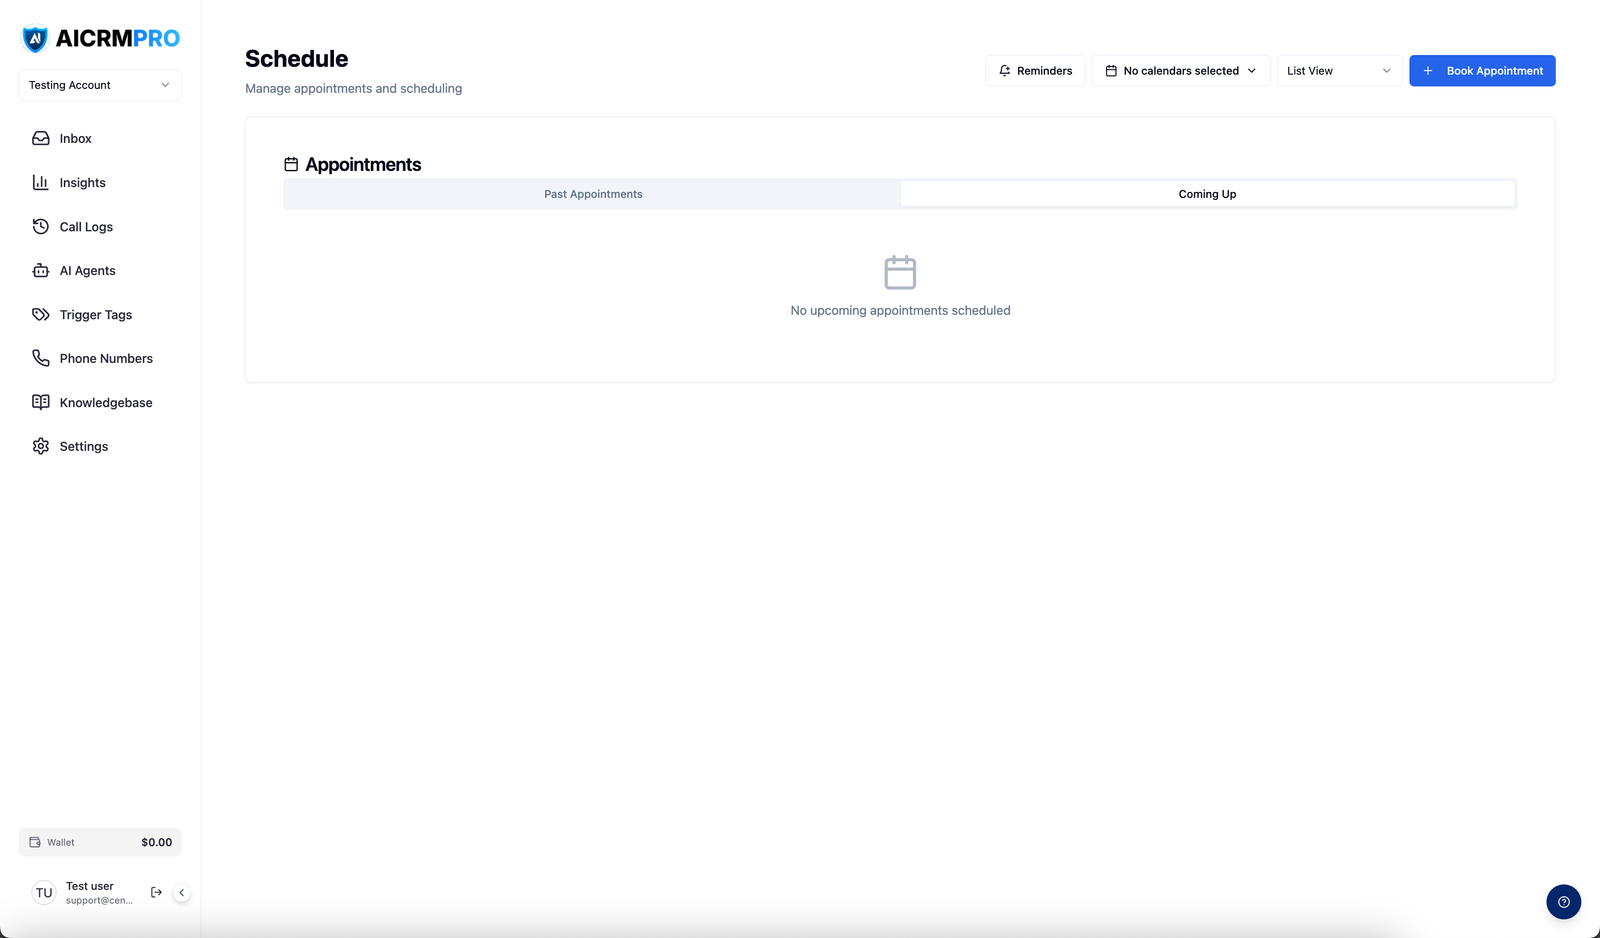
Viewing appointments

Go to Schedule in the sidebar to see all upcoming appointments across your calendars in a weekly or monthly calendar view. Use the filter at the top to show appointments for a specific calendar or team member.

From the Schedule page you can:

  • Click any appointment to see contact details and a notes field
  • Cancel or reschedule an appointment
  • Manually add an appointment that was booked outside of Centerfy
© 2026 Centerfy AI. All rights reserved.